How To Frame A Closet In A Bedroom
How To Frame A Closet In A Bedroom
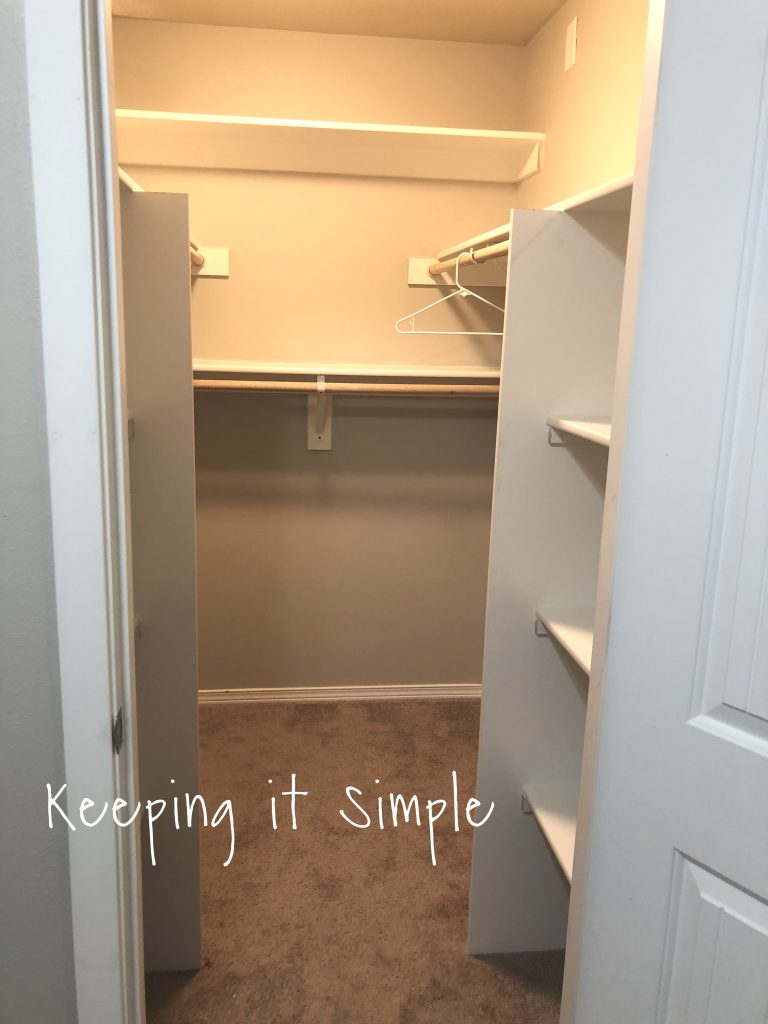
Do you have a room in your house that no matter how many times you rearrange it or declutter it or organize it, it is still a big disaster and drives you CRAZY?!? Well that was my boys' bedroom, which really was a bonus room. It's a HUGE room which is awesome but also caused problems because it was so big it never looked organized and it was a huge mess 95% of the time (it seriously drove me bonkers and I would just shut the door and not deal with it). We have lived in this house for almost 4 years and I have been wanting to build a closet in this room for as long as we lived here. I wanted to because first off it would add an extra bedroom so adding value to our house and then so we could have a place for all of my boys' crap (I mean clothes and toys). The wardrobes that are in the room came with the house and we tried to make it work but they just didn't. So after several years with just dealing with the room, we decided it was time to make it an actually bedroom and build a walk in closet in there. Just so you know, we hired someone to actually build the closet (then we built the shelves) so I can't go into much details about how to build the actual closet but I can give tips on how to build a closet and what things I would do again and what mistakes we made in the process.
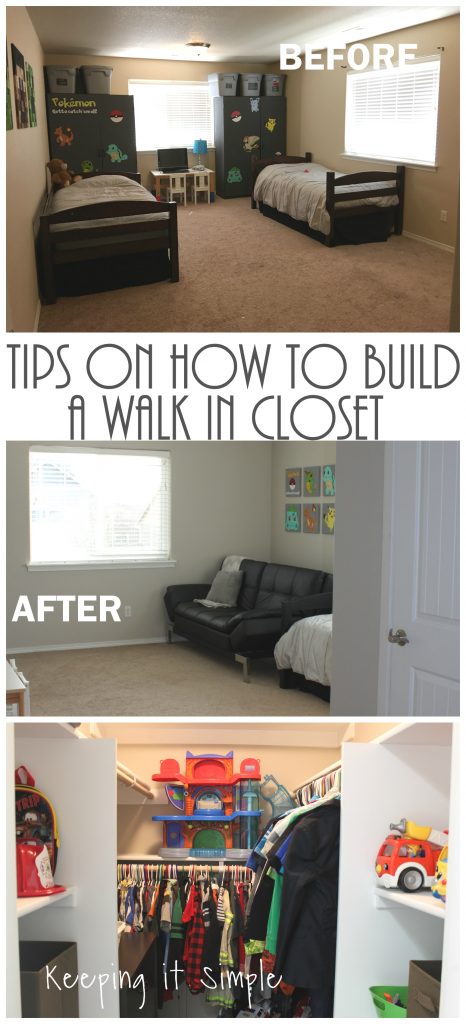
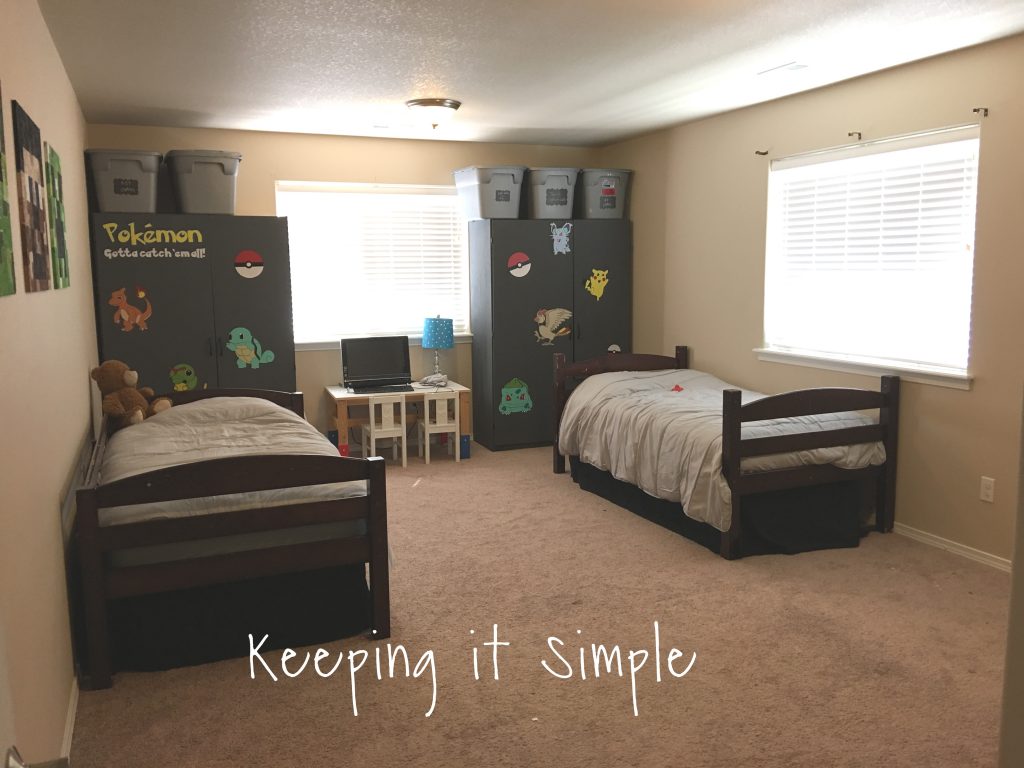
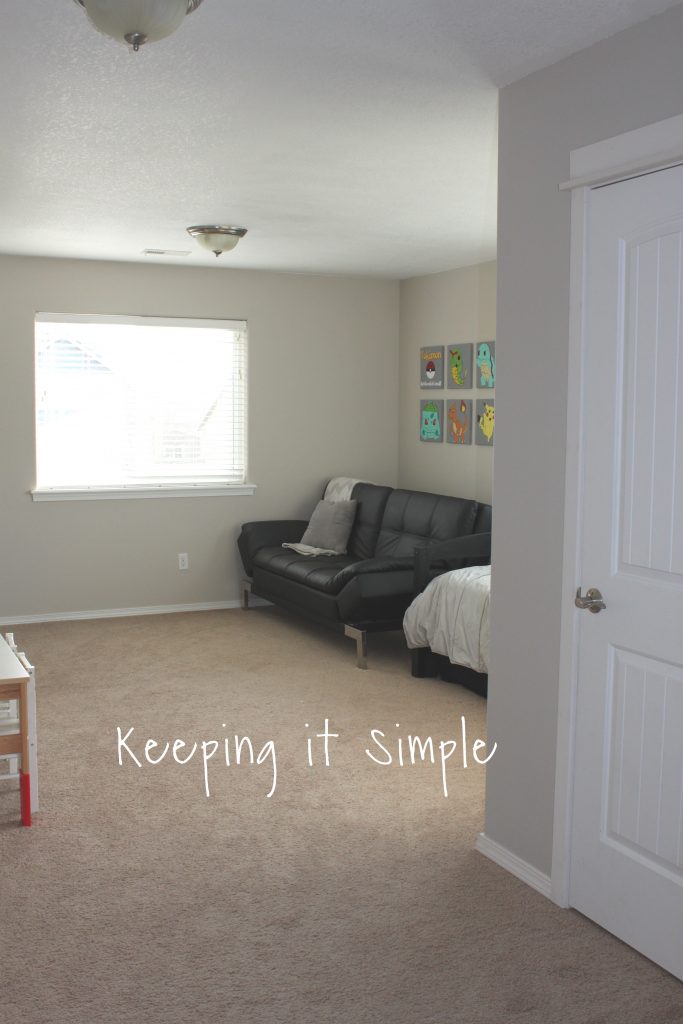
So here is the before picture. I tried to make the wardrobes work as long as possible. I even gave them a major face lift by painting them and put Pokemon decals on them. Then we put totes on top of them because there were things (like costumes) that I wanted in their room but didn't really have a place for them. We even stored toys under the bed too. It worked for a little while BUT it was always messy. Since this room is so big, we stored all of the boy toys in there plus two of my boys stuff….
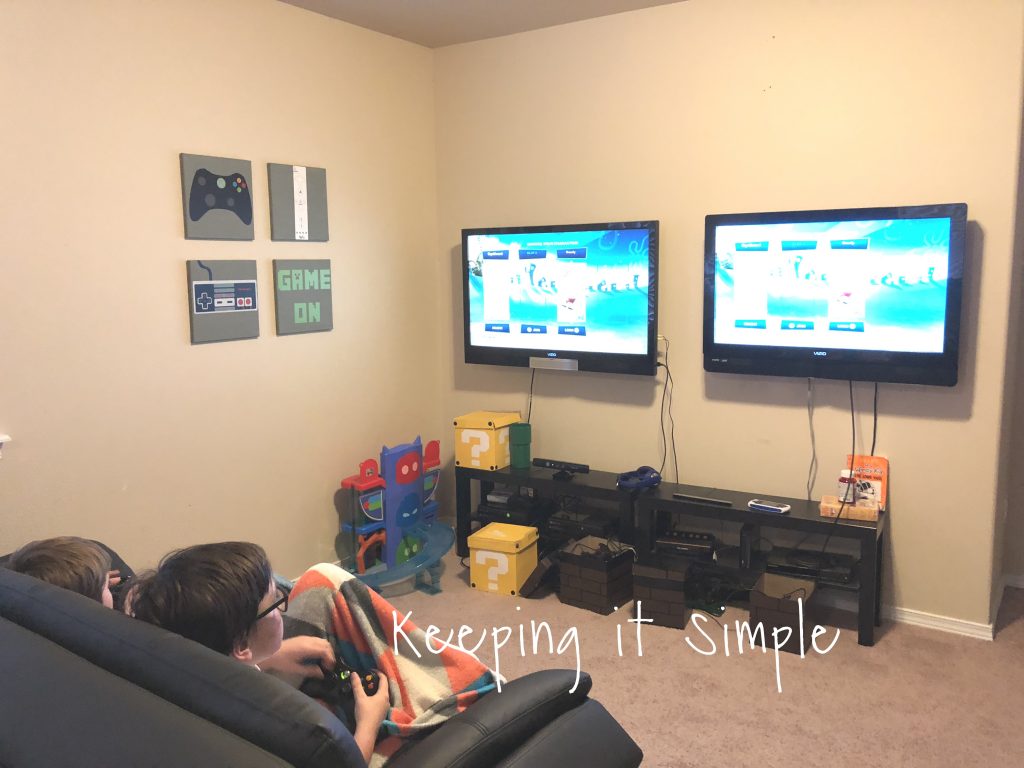
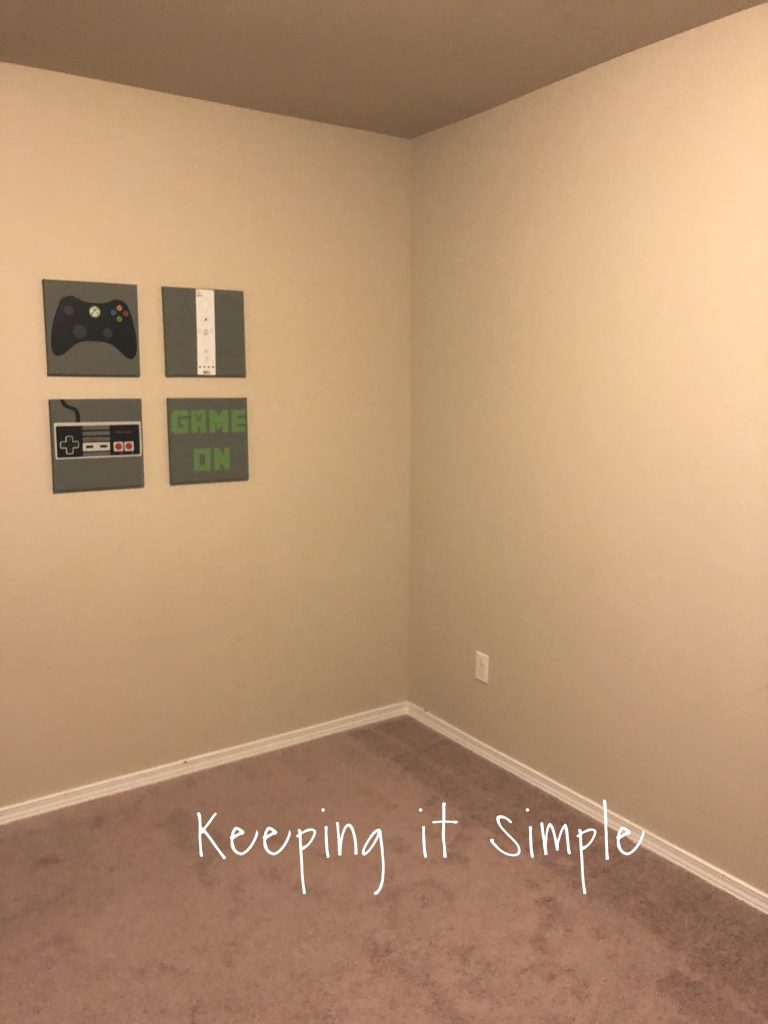
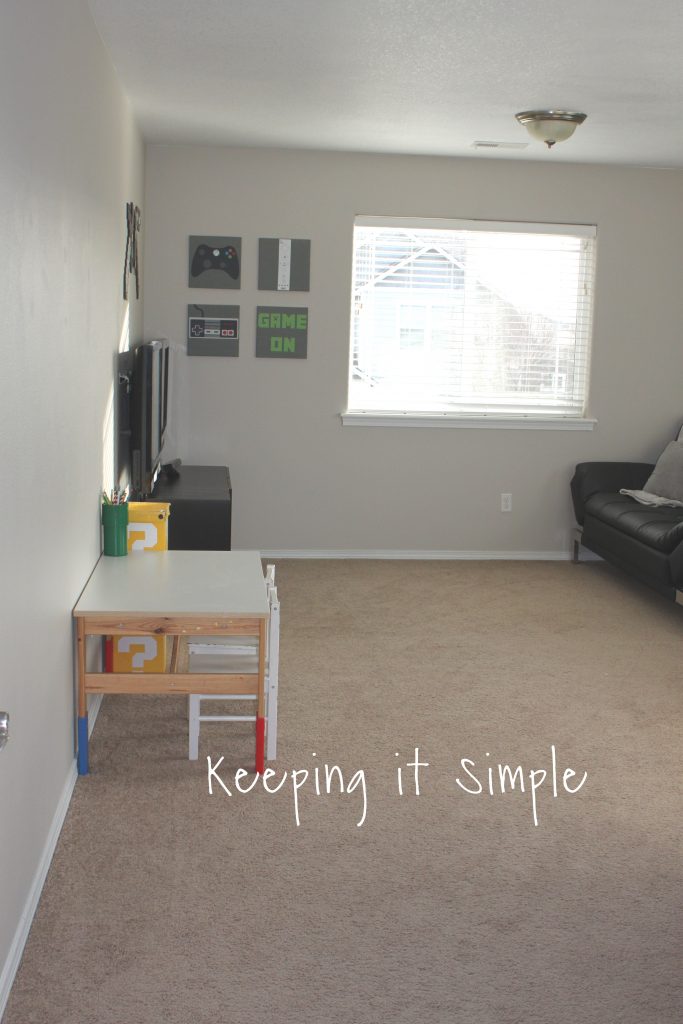
Here are a few pictures to show the chaos and the mess that was their room….. this is the video game area, there was always cords, games, and controllers all over the place.
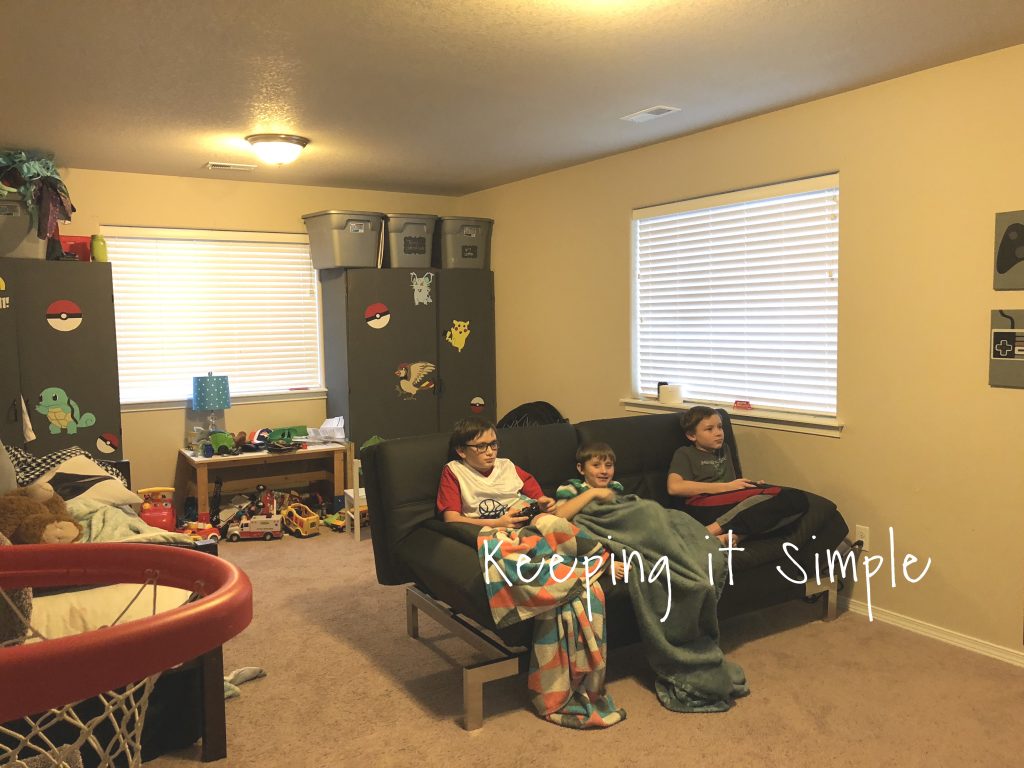
And here is the rest of the room….. do you like the costumes coming out of the totes? Or the 100s of trucks under the table?? Yup, this is how the room looked when we "cleaned" it and I just HATED it! So it was time to change it.
Now to get the closet part :). The first hurdle to get through was determining where to build the closet. Since bedrooms usually have the closet built when they are made, they look natural and just part of the room. Well that wasn't the case with this room, so we had to find an area that would look most natural. We determined that the front of the room would be the best. There were two options we could do , build a longer closet that went across the whole wall (it is about 8 feet long) and have it come out 3 feet and have sliding doors. Or build a walk in closet that is wider but not as long. We decided to go with the walk in because it would fit more stuff and we felt like if we build across the whole wall, it would leave a "hallway" at the door and it just didn't feel like it would look good. So we determined that this was the corner that we wanted to build in. Every house is different and it doesn't hurt to get a professional in to help you out if you can't figure it out.
Once we figured out where we wanted to put the closet, we had someone come in and talk it through with us and what was possible (and if we were crazy or if it would look horrible). At that meeting we determined all the things that we wanted for the closet, I had ideas, he had ideas and then we made a game plan and got started. The things that we determined were things like, how big we wanted it and electrical and little details like moving lights in the ceiling and where exactly we wanted the corner to be. The way we determined the size of the closet was there was a light in the ceiling that we had to move (because it was right where we wanted the closet to end) and so the contractor suggested that we make the corner of the closet right where the hole in the ceiling would be, so he could put the studs right over it and not have to try to do a patch job and try to match the texture of the ceiling. With that we figured that our closet would be 60″ x 80″ (that is outside of the closet, not the inside of it). This worked for us BUT if I were to do it again, I would have made the closet a little bigger, like 65″ x 80″. The reason why is because we ran into a couple problems with the walls next to the door being too narrow to fit the shelves into (you will see what I mean and what we did to fix the problem). So before you start determining the size of the closet, you will want to factor in the size of the door, trim and things like that because that wall effected the whole design of the closet (that is if you have the door on the more narrow side of the closet, if you have it on the longer side of the closet then it is not as big of deal).
Once we figured out all the details, it was time for him to get to work and then me sit back and watch :). If you've never built walls or something like this, I would recommend at least having someone who has help you because there are definitely things I didn't know how to do. I think that my husband and I could have done everything (except electrical, that's a whole other level that we aren't ready to learn yet) but it wouldn't have looked as nice and probably would have taken 4x times as long. The contractor we hired took 4 days to build the closet. The first day he worked on electrical. We wanted the closet to have it's own light and then we had to move the one light in the ceiling to another location. So that is what he worked on the first day he was here.
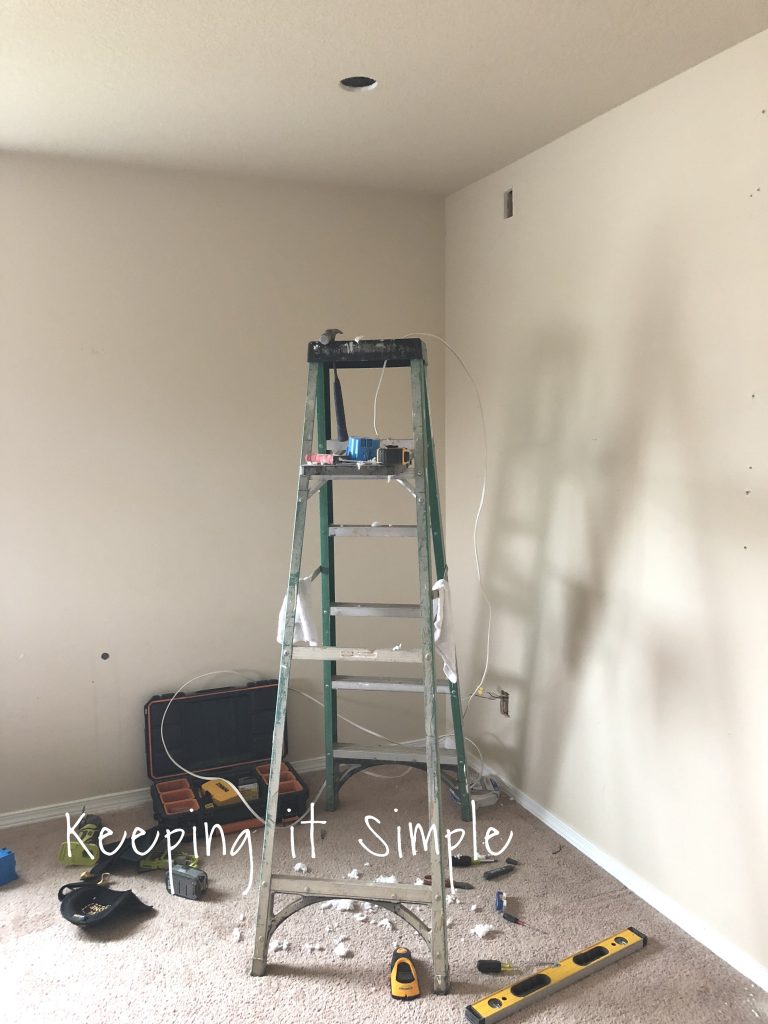
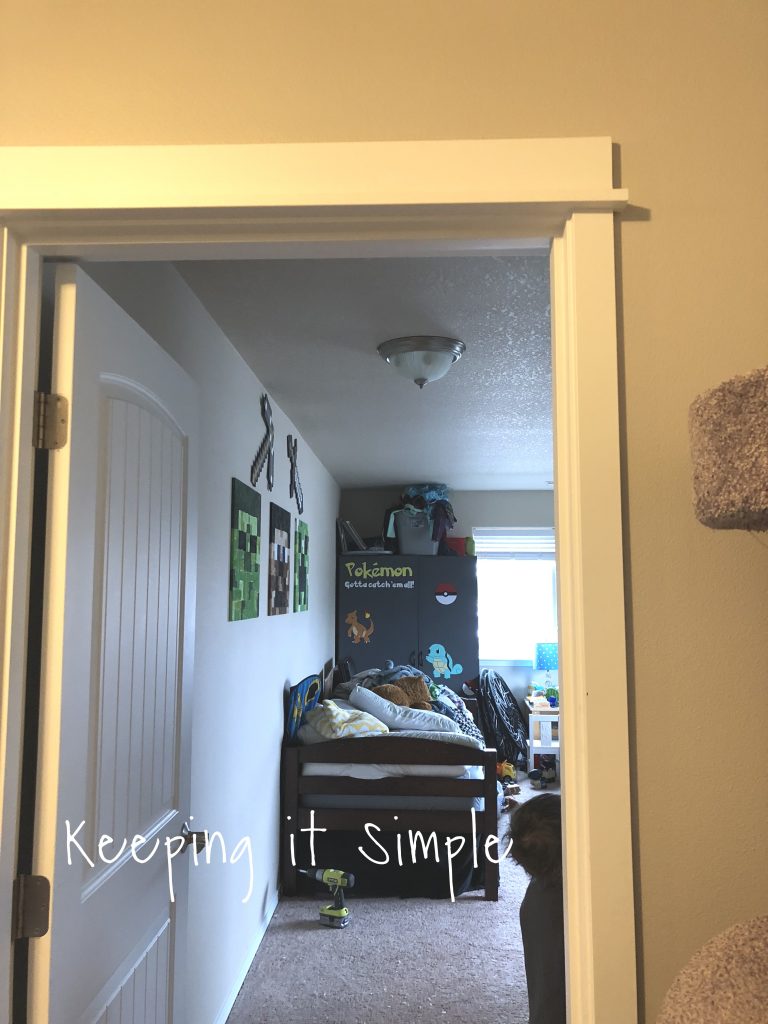
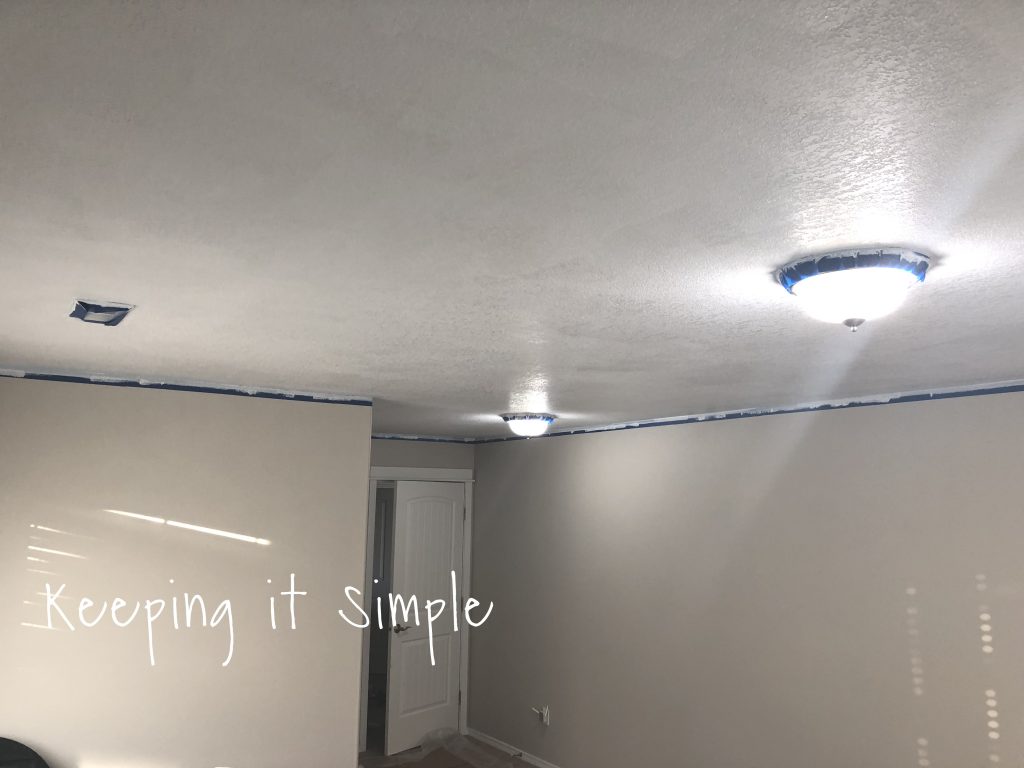
Here is the other light, he moved it right in front of the door so we wouldn't have a dark area since the closet will block the light from the window at the door.
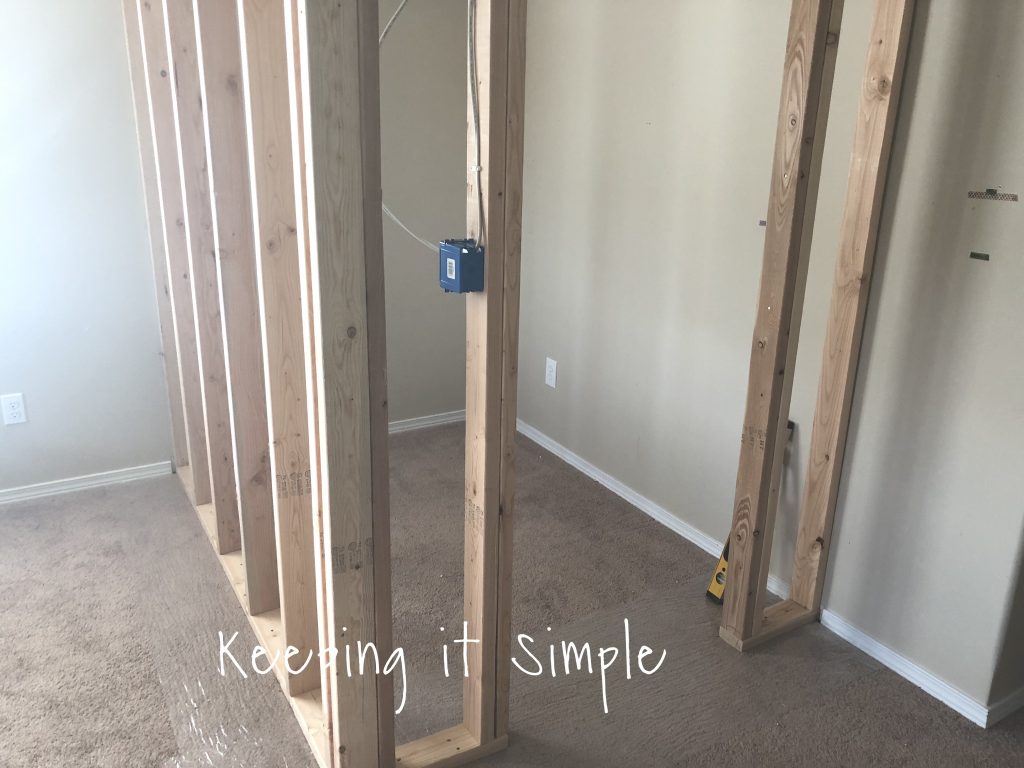
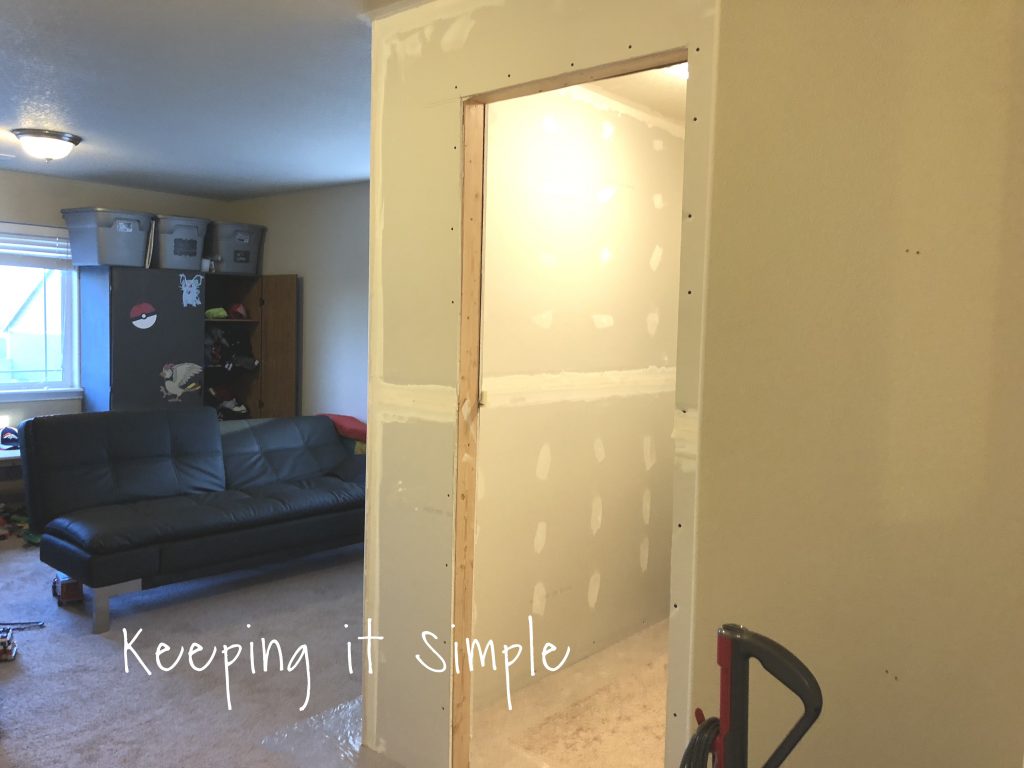
The electrical took most of the day, he was up in the attic and trying to determine where all the wires were and all that fun stuff. It takes a lot of time just figuring it all out when it comes to electrical. The next day he worked on framing. This is where the fun begins, because you can actually see the progress and how it will look in the end. So he framed the closet (he did cut the baseboard to make room for the studs against the wall) and then framed the door (it was a 28″ door). You can't see it in the picture, but the corner is right on the hole where the light used to be.

Here is another angle of the framing. At this point he wired the light switch so we can have light (and it's own light switch, woot woot!).
On the same day, he put the dry wall up too.

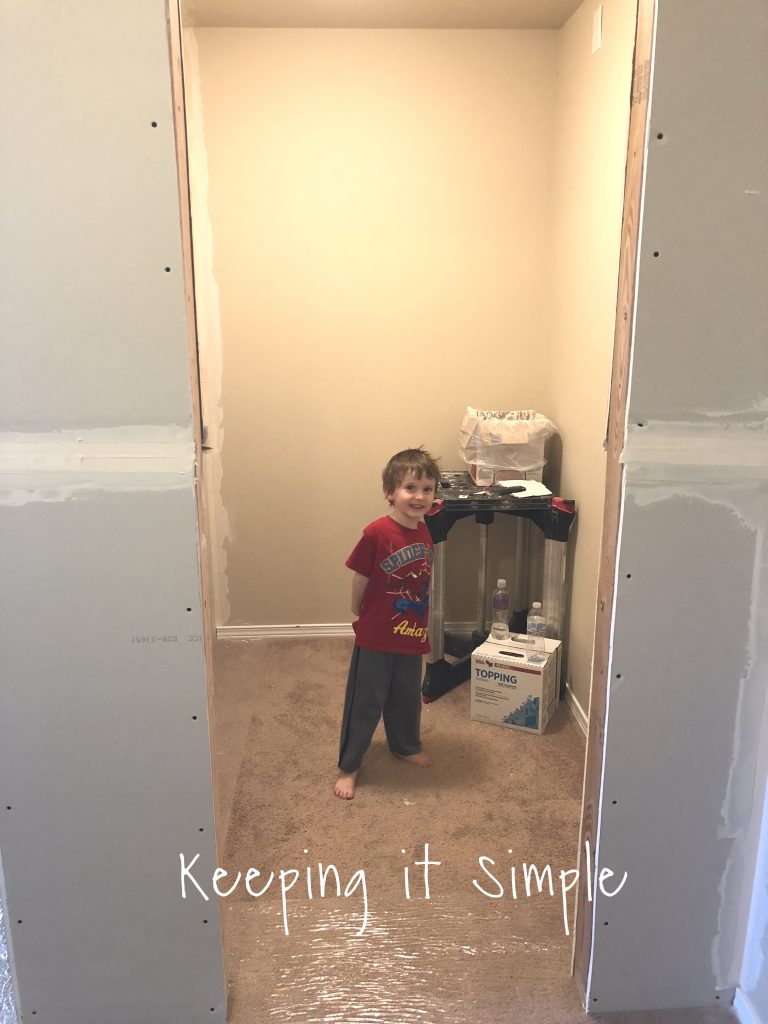
Now the closet is really taking shape! With the drywall in, the inside of the closet measures 75″ x 55″

My cute boy was super excited about this closet and was the little helper along the way!
Once the dry wall was up, then he taped and mudded. He was able to do the framing, dry wall and mudding all in one day!

The mudding is what took the longest because you have to do it 3 times. He put it on one afternoon and then the next morning came back and sanded them and mudded it again. Then came back again that late afternoon and sanded and added mud again, so a total of 3 times.
The next day he put the texture onto the walls. He used orange peel, it's a can that you spray onto the dry wall. He used a different one along the ceiling because the texture of the ceiling is different. Once the texture is dry you can sand it before you paint if you want.
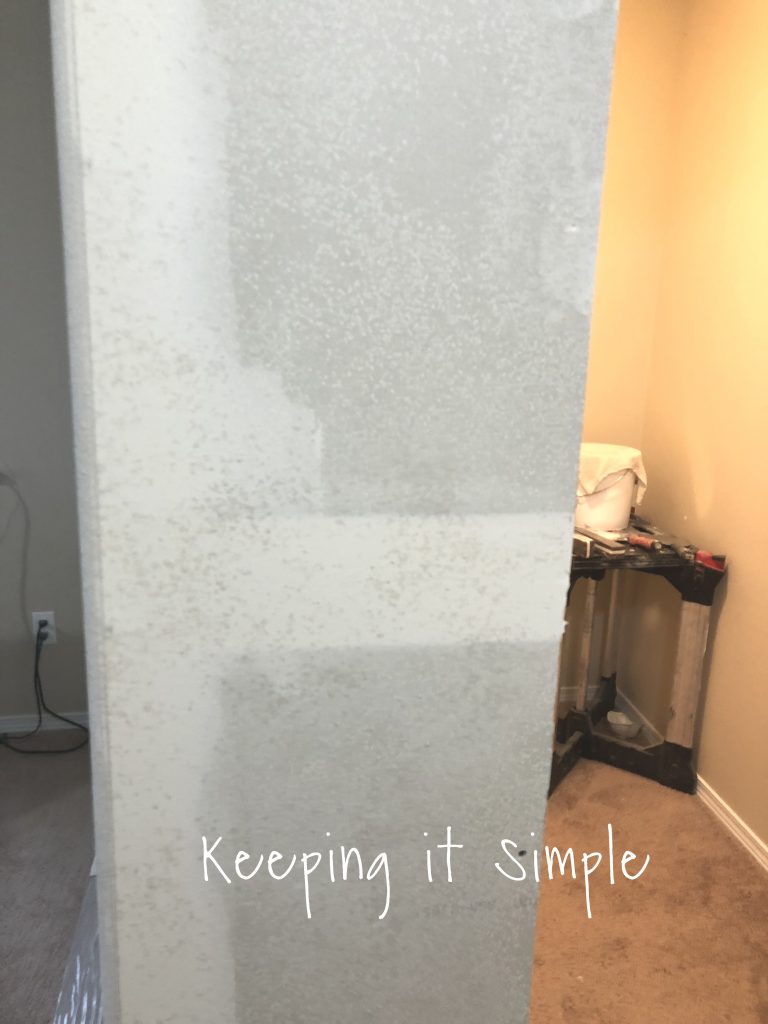
Here it is on the whole wall.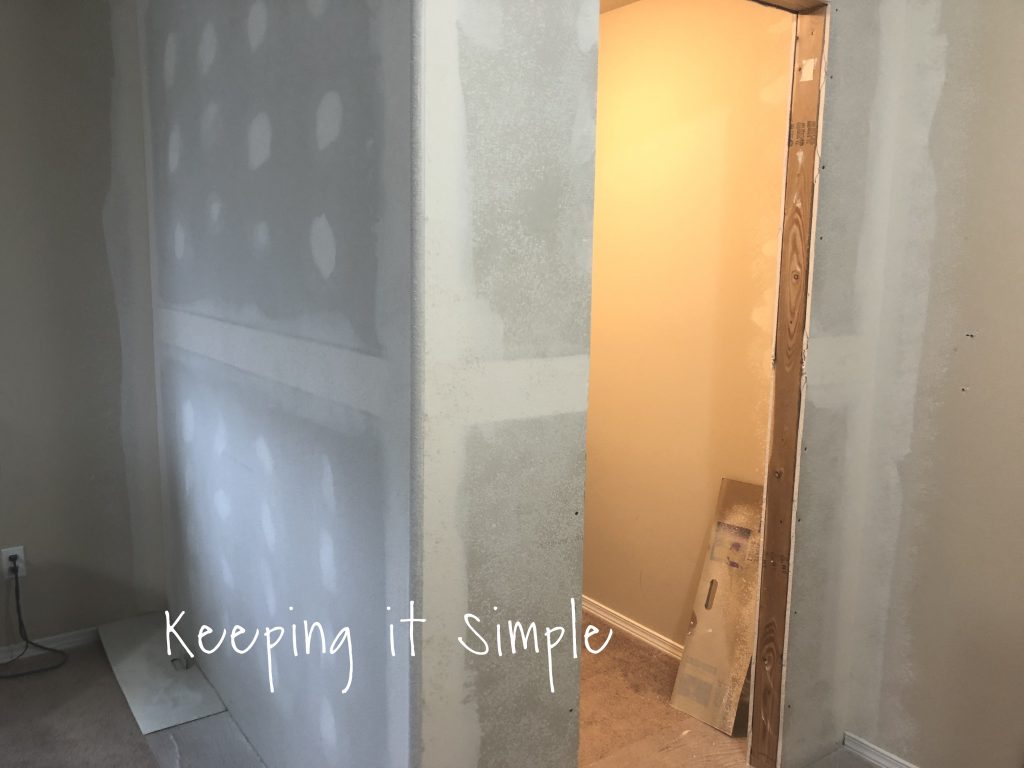
Once the texture was dry, it was time to hang the door and put on the trim and baseboards.
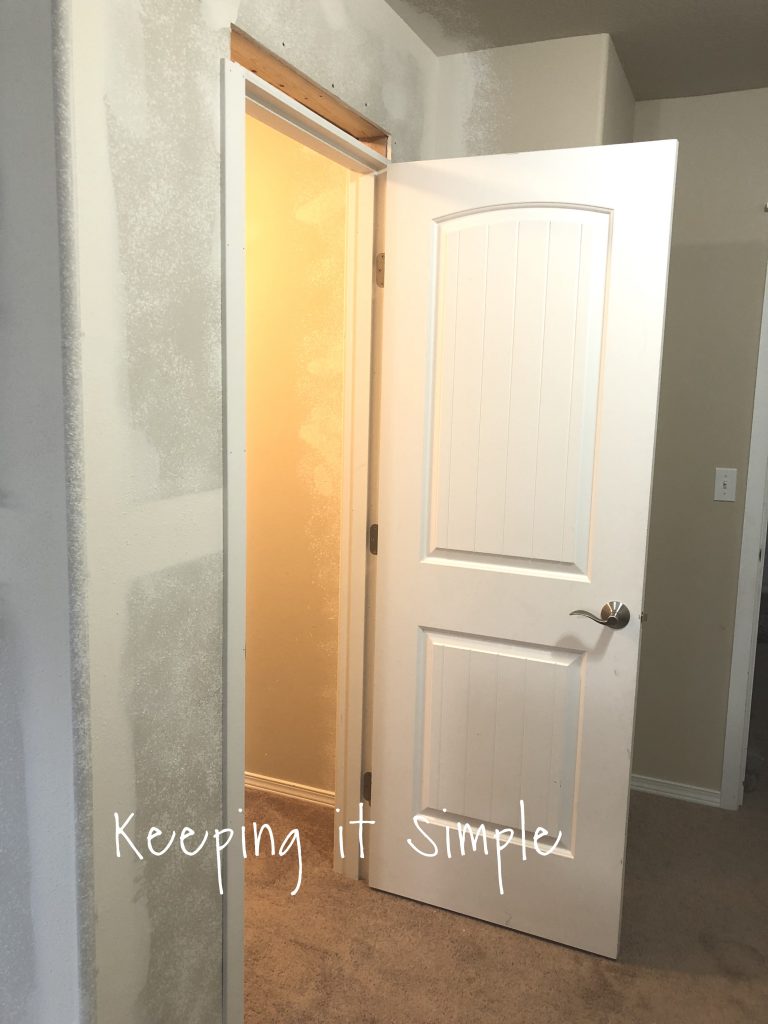
Here it is with all of the trim on, I love it so much! Once the trim was on, he then caulked it and filled in the nail holes. And as far as building the walls for the closet, it's done! This is where my husband and I took over.
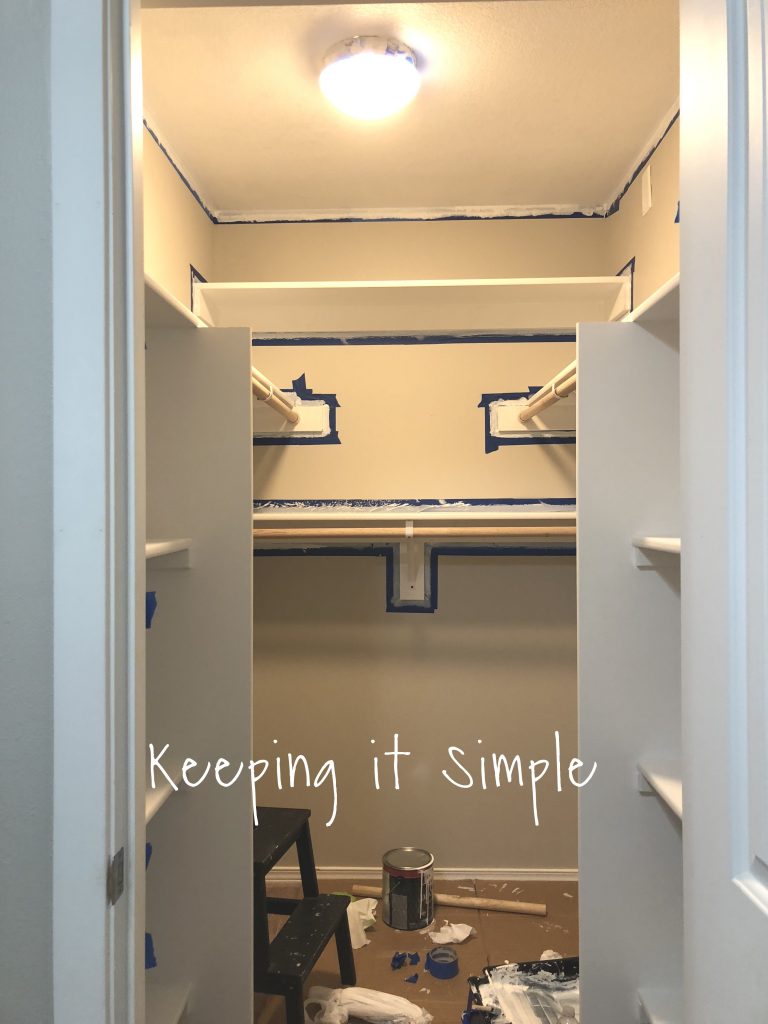
The following day is when I got to work! I painted the walls of the bedroom and the closet (the drywall needs two coats). I used a warm gray called Worldly Gray from Sherwin Williams.

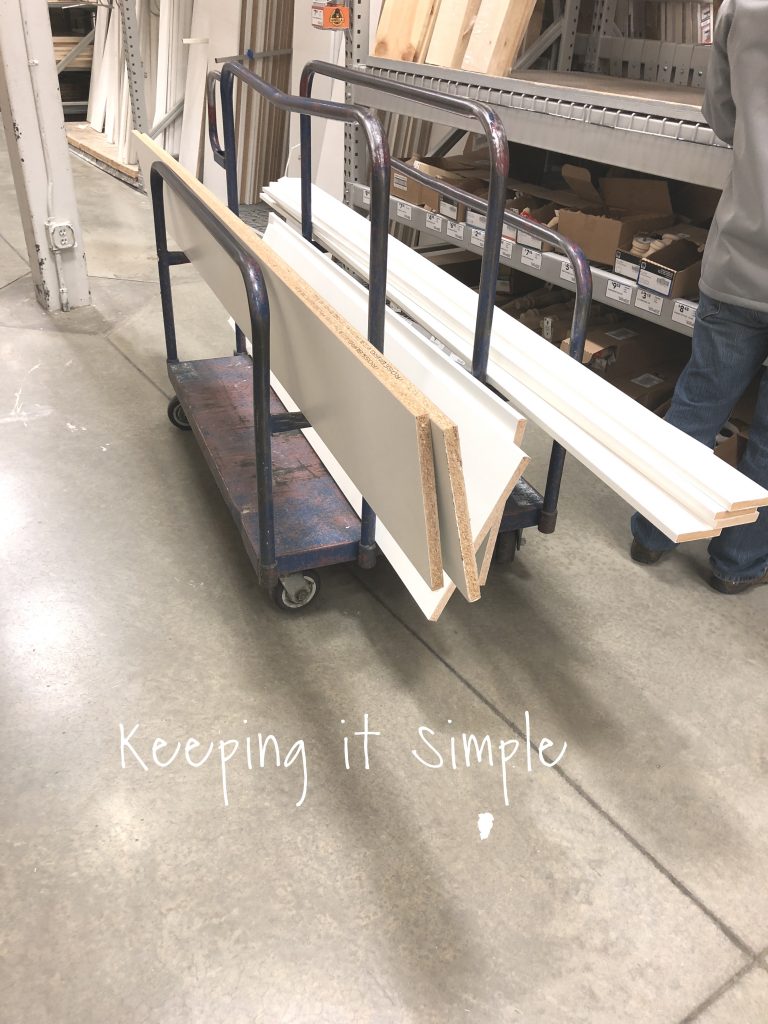
Once the room and closet was painted, it was time to design and build the shelves for the closet. We tried to do the same kind of design as the other closets in our house because we wanted it to look natural. So we used the primed white bull nose shelf board (the bull nose means it's curved around one edge so it doesn't have a sharp edge). We got the 11 1/4″ x 97″ boards for the shelves (we got 4 of those) and then 2 of the 15 1/2″ x 72″ boards for the vertical piece. Then for under the shelves we got MDF 1″ x 4″ x 8′ (5 of those) and 1″ x 2″ x 8′ (4 of those).
So one of the problems that we ran into (that I mentioned earlier) was that the distance between the wall and the door. The problem was that one side was only 10″ and 11″ on the other side. So with our design (and what was in our other closets) the shelf is 11 1/4″ inches but then the rod for the clothes comes out to 12 1/2″ underneath the shelf, so since the distance between the wall and door were only 10″ and 11″ we couldn't put the rod under the shelf and we didn't want to lose the whole distance of the wall to hang clothes on. This hit me at 5 am one morning when I was just laying in bed…. so I woke up and measured every single closet and tried to come up with a design that would work for the closet. So I came up with having shelves at the front of the closet so then we can have a vertical wall to attach the rod onto for the clothes. So that is why we have the shelves in the beginning of the closet (but in the end, I ended up I loving them because it gives you a couple feet before you start running into clothes). So when you are figuring out the size of the closet, this is something that you should take into account BEFORE you start building it, because that extra 5 inches would have really been nice! We made it work and I still love how it looks but it could have saved me a few sleepless nights.
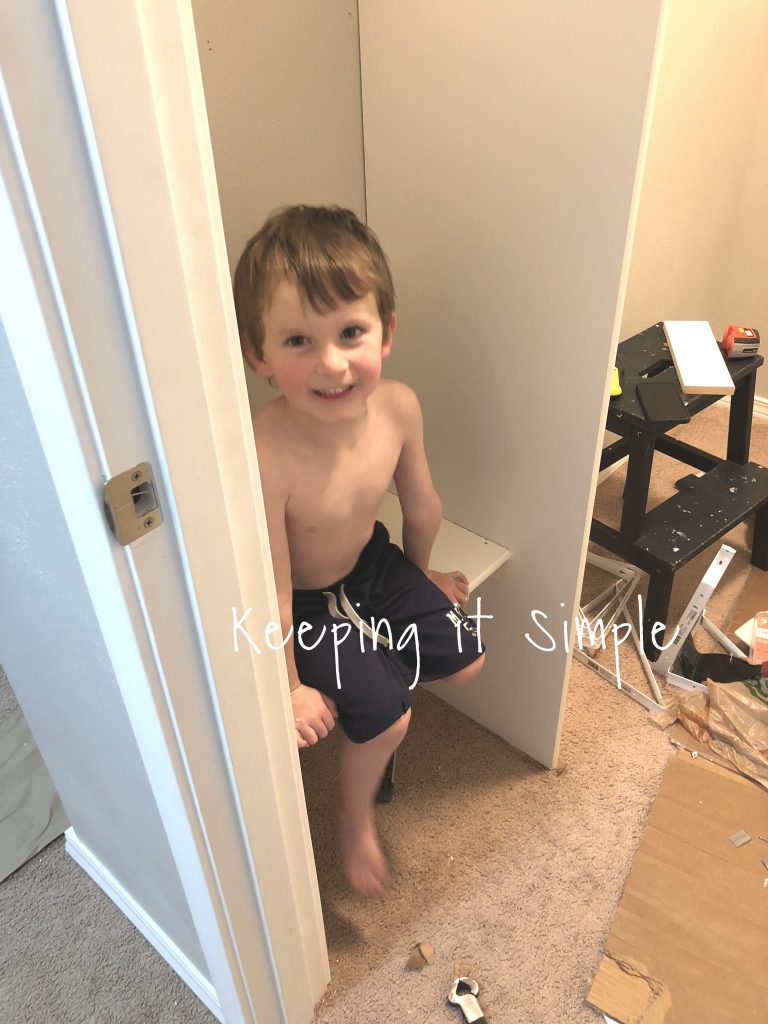
Now time for building the shelves. We first put on the 1 x 4 onto the wall, so we could build onto that. We put the top of that at 68″, so the shelf is at 68″. Then we attached the little 1 x 2 boards to the wall for the smaller shelves. Those were 20″ wide and there were 3 of those. We also put the 1 x 2 onto the wall to the left (between the door and wall). Then we attached the shelf to the 1 x 2's that were the wall with a nail gun. That shelf was 20″ wide but then only 10″ deep (it is shorter than the other shelves because of the distance between the wall and door). Once that shelf was in, then we then put the vertical board up (that one is the 15 1/2″ board) and it's about 68″ tall. We cut out a couple notches on the corners in the back so that it would go over the base board and the 1 x 4 that was on the wall. Then we nailed it into the bottom shelf (the vertical piece isn't nailed into the wall at all, it's nailed into the shelves) and into the 1 x 2 pieces that are nailed into the wall. Once the vertical piece was nailed into the shelf, we then add the last 1 x 2 piece under the shelf and nailed it to the vertical piece. When we were nailing the boards into the walls we used 2″ finishing nails and when we were nailing the shelves into the boards, we used 1 1/4″ nails.
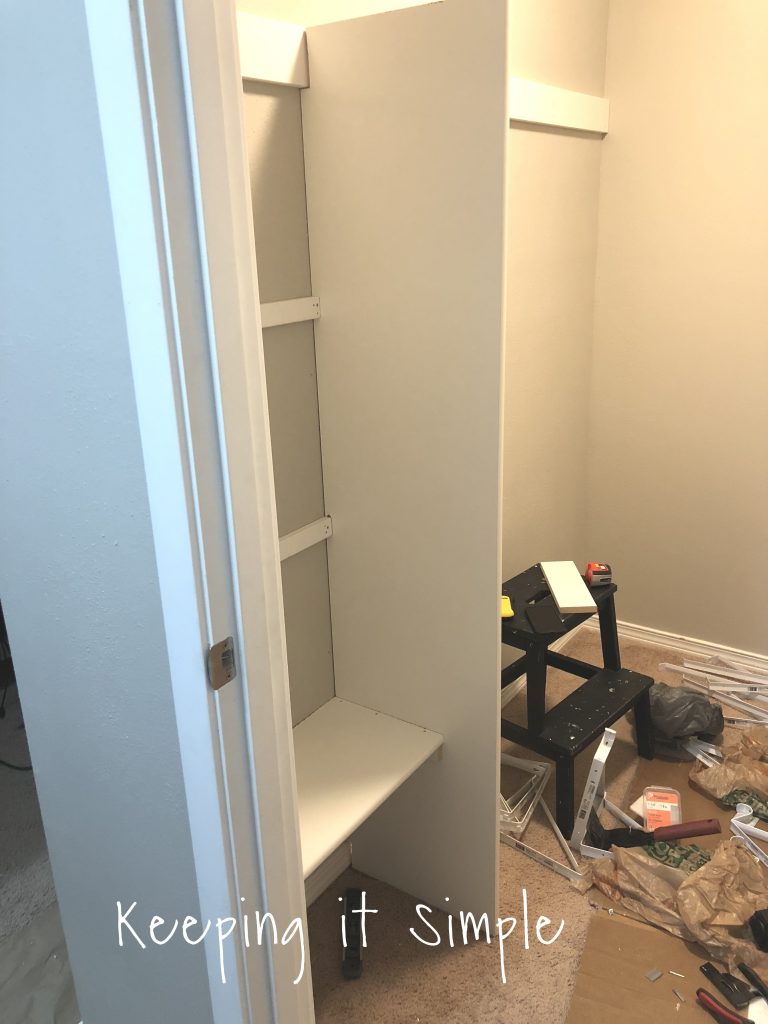
Here is my cutey testing out the shelf, he approves :).
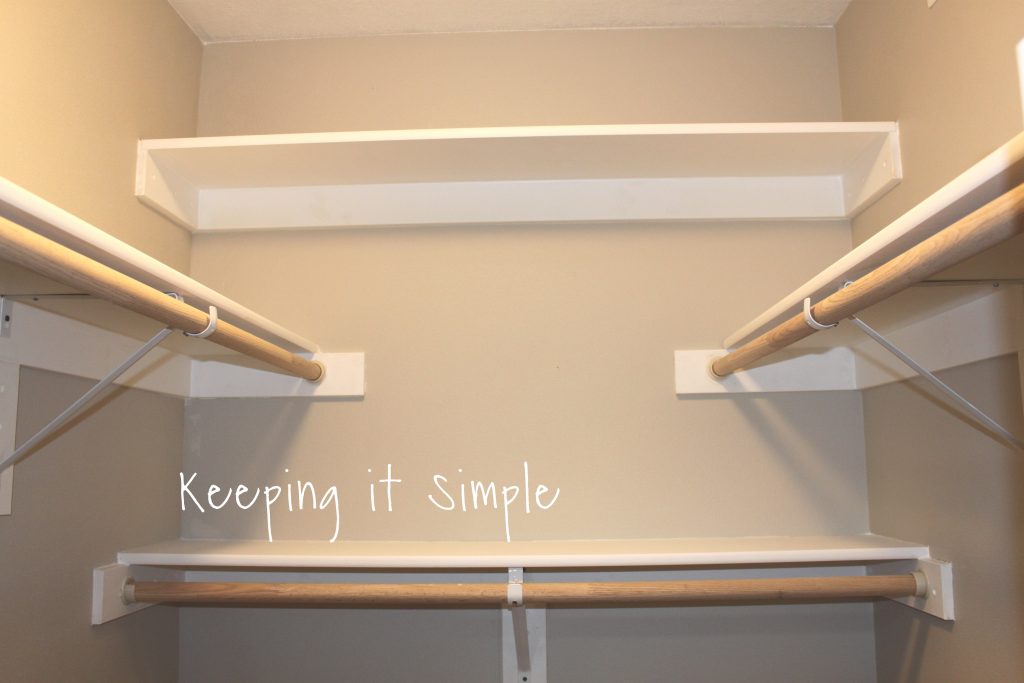
Once we got the vertical board up, then we worked our way up and continued to put on the shelves, they are about 17″ apart. For the top one, we had it be 11 1/4″ but then we cut out a little notch where it hits the door trim so that it would fit there (it is one long board). To put that one on, we nailed it into the 1 x 4 boards that are on the wall and then also into the vertical board. We also put another 1 x 4 on the wall to go under the shelf and to put the rod onto. This one has to be longer than the shelf so the rod can go on it (the rod goes out about 12 1/2″) so the distance from the wall to the end of that piece is about 15 1/2″ (we cut the 1 x 4 to be 14 3/4″). We also put the bracket up for the rod, with that we had to add another piece of 1 x 4 under the one that supports the shelf so we could screw the bracket into it (you'll see a picture of this).
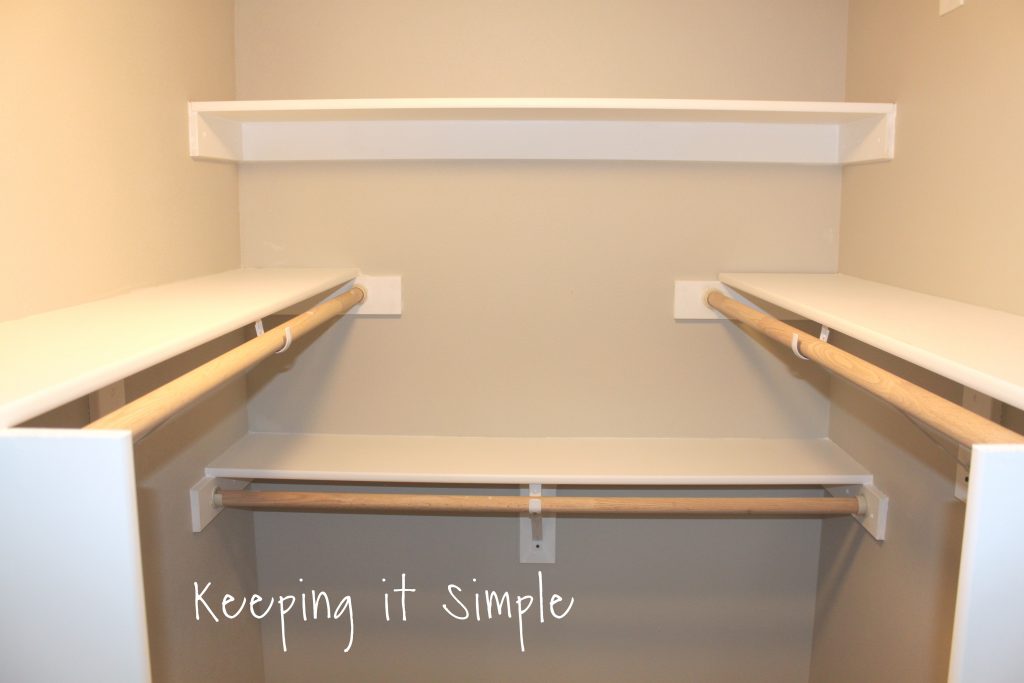
Once the one side was done, we then worked on the other side and did everything exactly the same (except the small shelves were 11″ deep instead of 10″). Then we added a couple of shelves on the back wall and added another rod for the clothes on the lower one (you could add a rod to the top one if you wanted, we just didn't need it). The lower shelf is at 54″ and the top shelf is at 84″. We used the 11 1/4″ boards on those too. While my husband was making the shelves and putting them together, I was caulking all the edges to give it a nice finished look. We used both nails and screws to build the shelves. The nails were used to attach the shelves to the support boards and then the support boards were screwed into the walls.
Once the shelves were all built it was my turn to make them pretty :). I painted the ceiling and the shelves white. I used a flat paint in factory white for everything. I should have done the shelves in a satin or semi gloss to make them easier to clean but I got lazy…. :).
And that's it for the closet, isn't it awesome? Here are a few pictures to show you all the different angles of the closet and how we built the shelves in there.
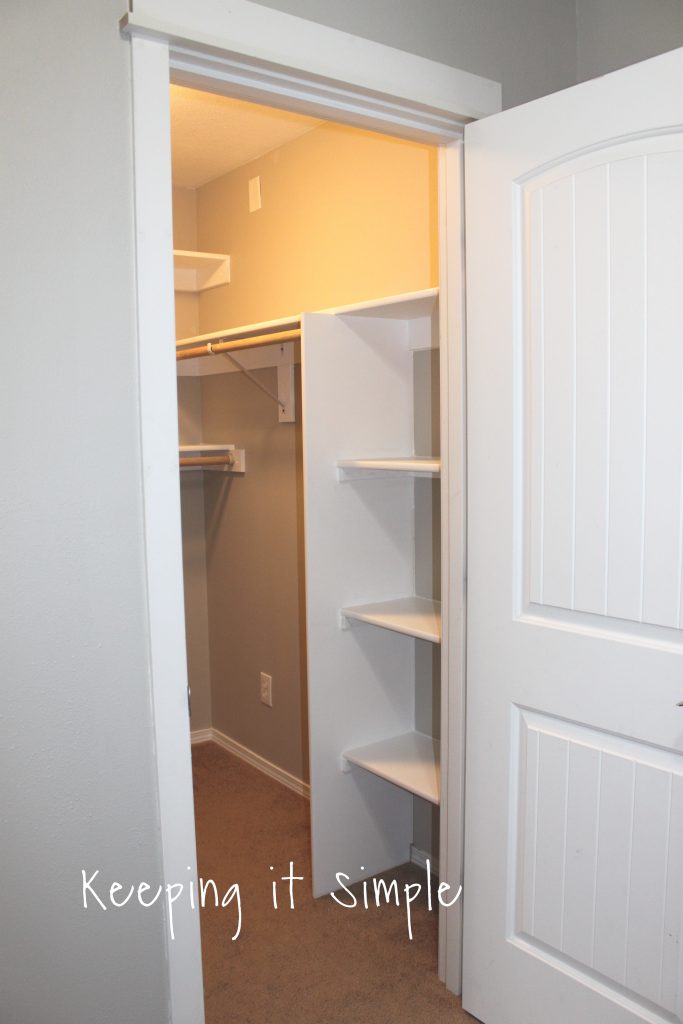
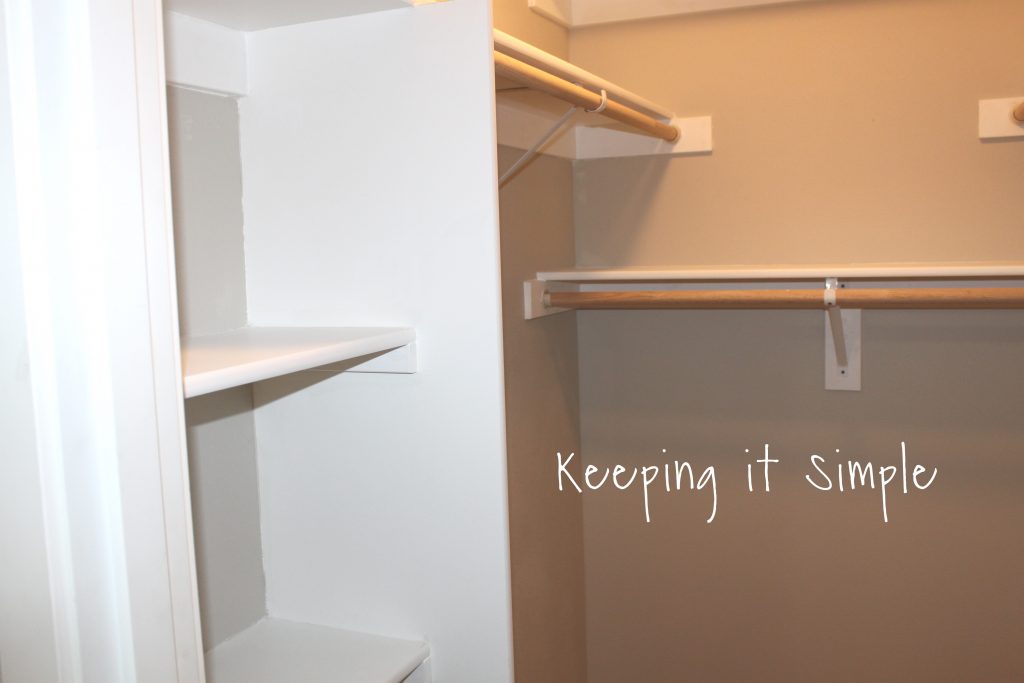
Here is what I was meaning about the board under the support board for the bracket. The rod is just a closet rod that was 6 feet long that we cut to fit in the space (they were all around 54″). We also screwed the rod into the bracket.

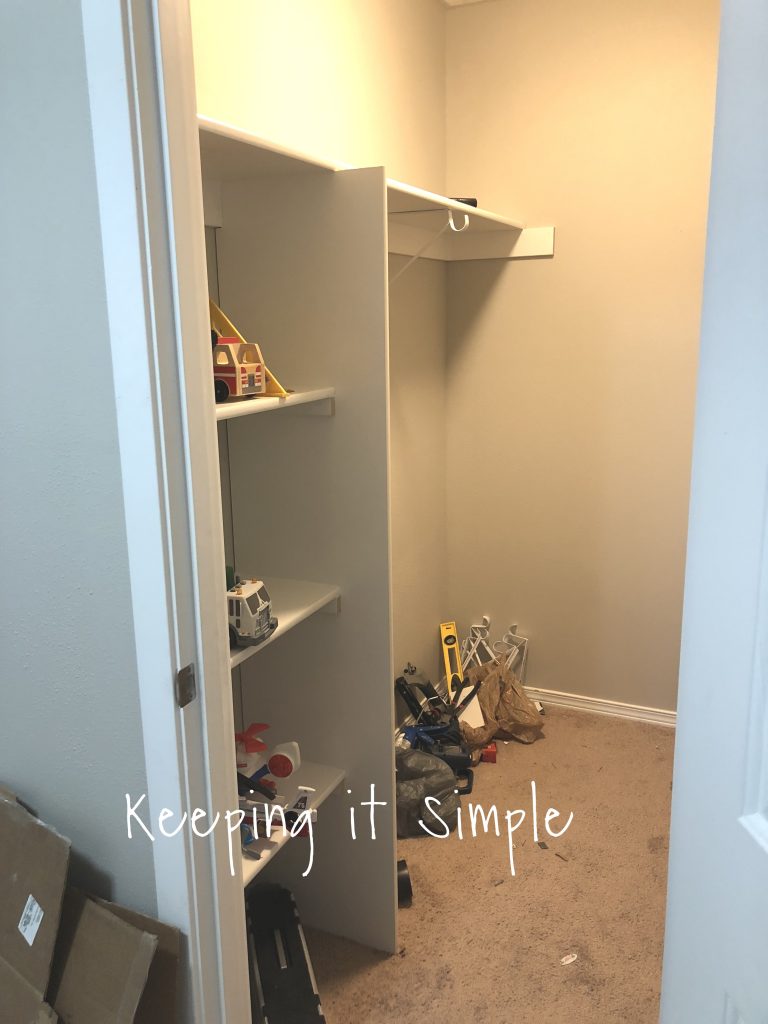
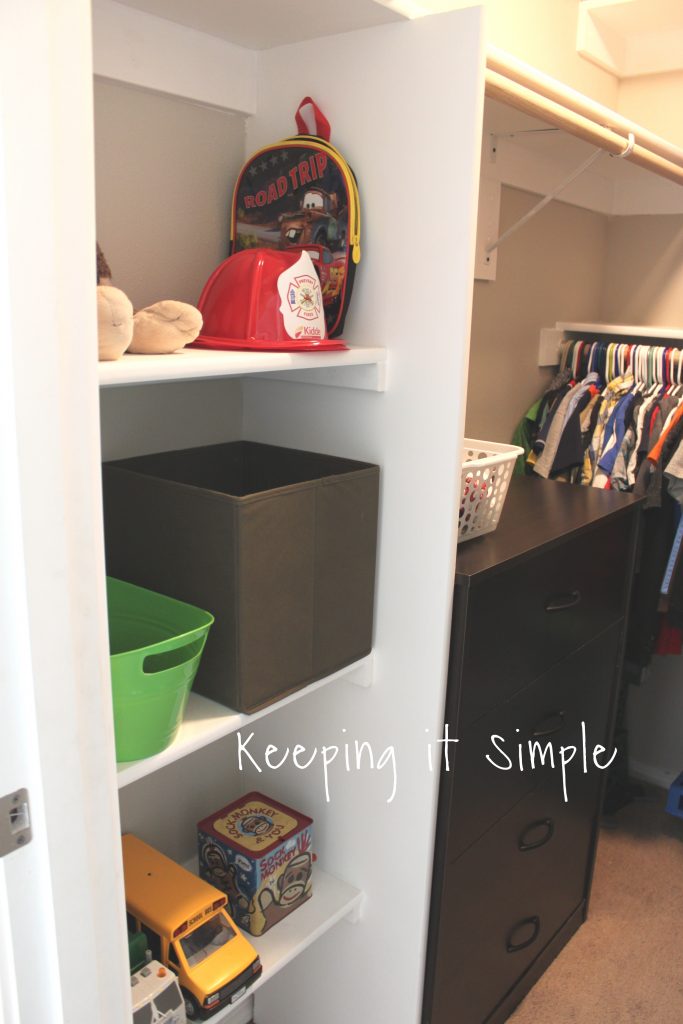
Here is a close up of the smaller shelves, I love them!
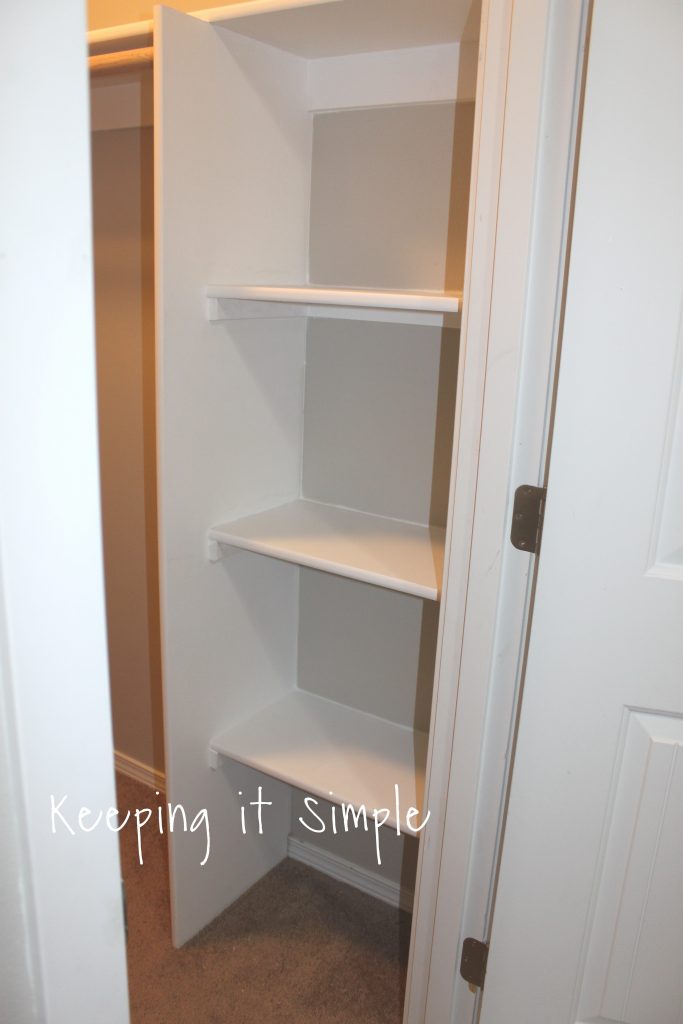
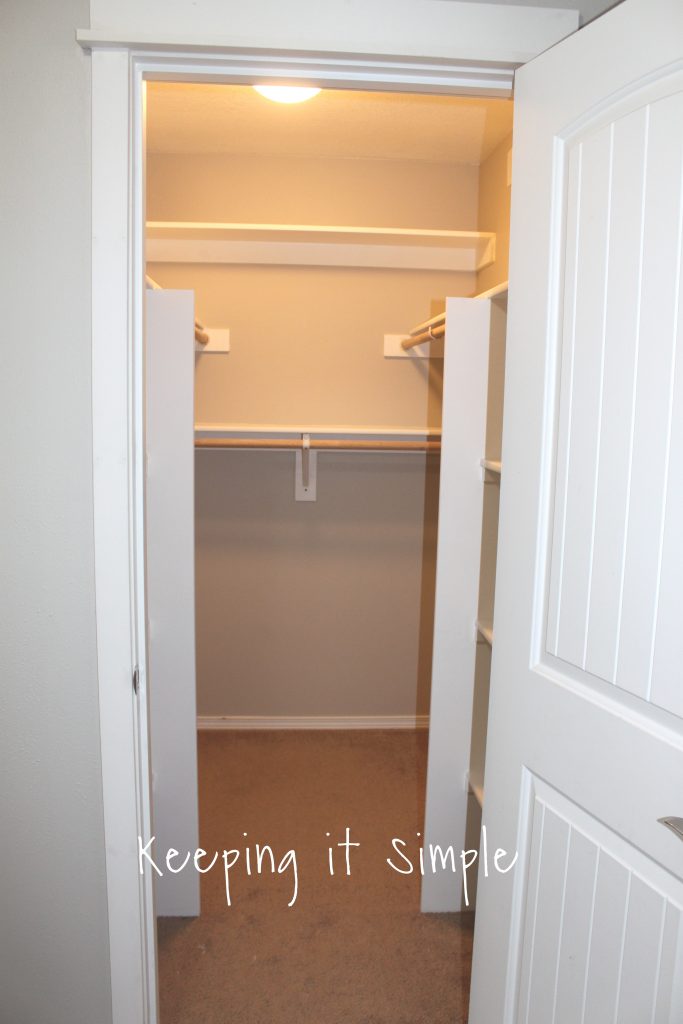
Here is a view of the shelves from higher.
We made sure to have lots of shelves so we can have lots of storage!
Once the closet was all done, I put more time into the bedroom. I painted the ceiling white with the same flat paint that I used in the closet. I hate painting ceilings but I LOVE how they look!
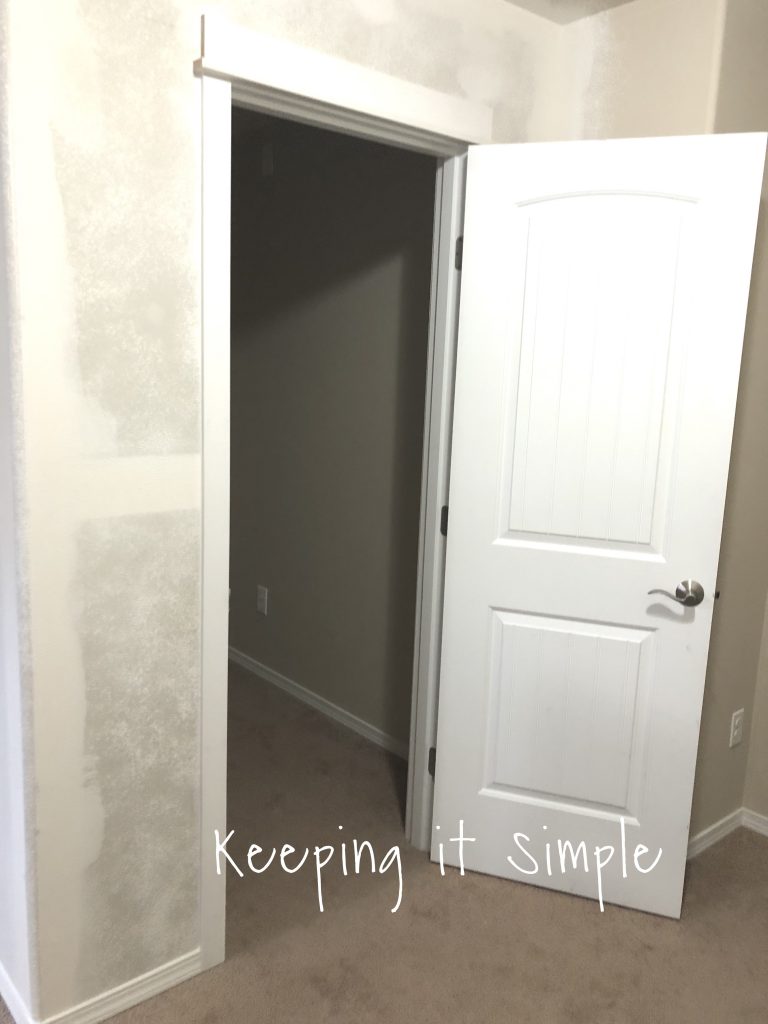
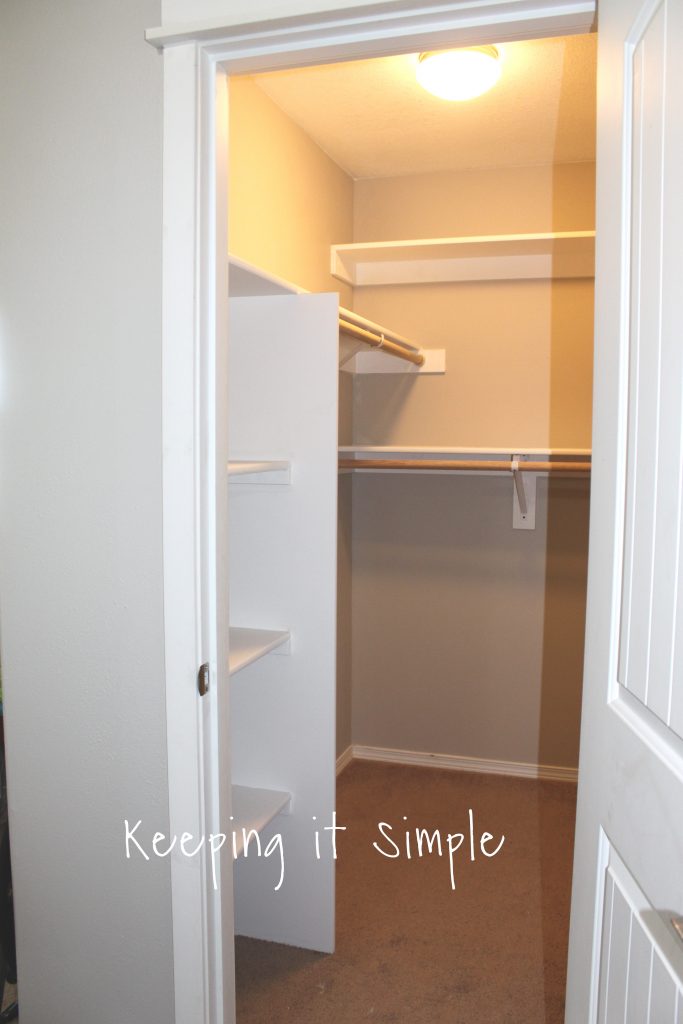
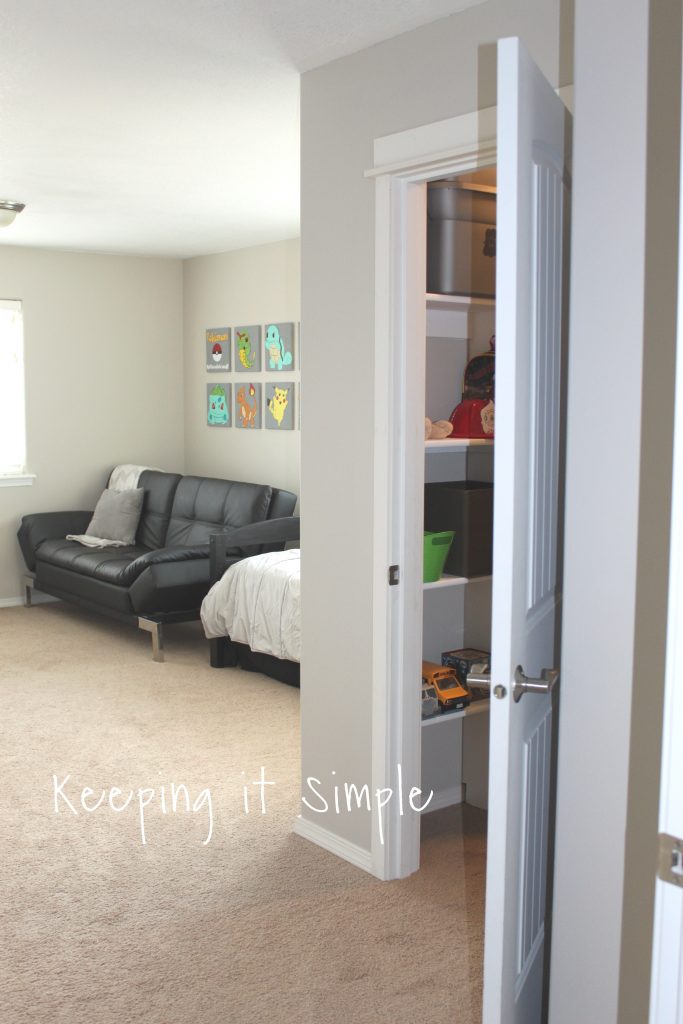
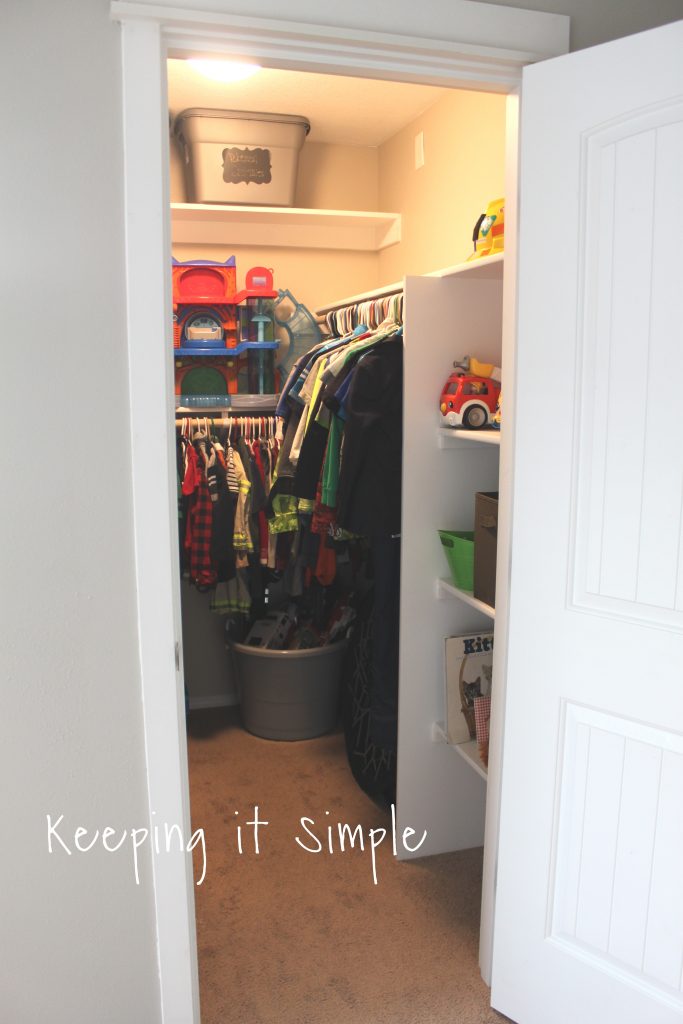
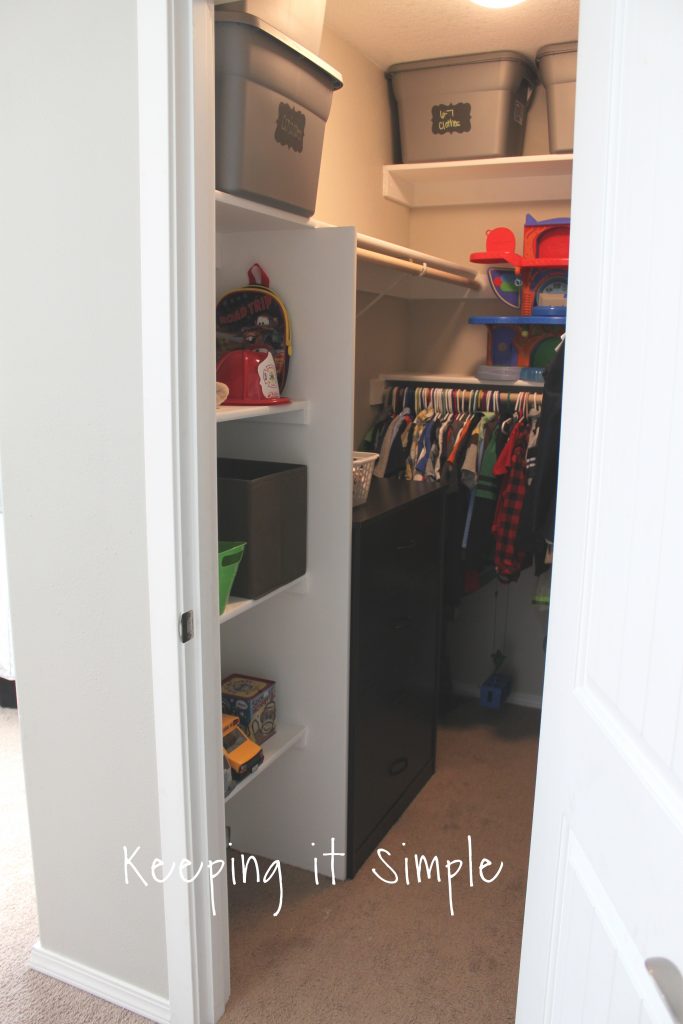
And now the bedroom is done!!! You saw the before (the disaster that it was!) and here is the after!! I love it so much, it looks so much better and is more functional now. Here is the view of the closet from the door.
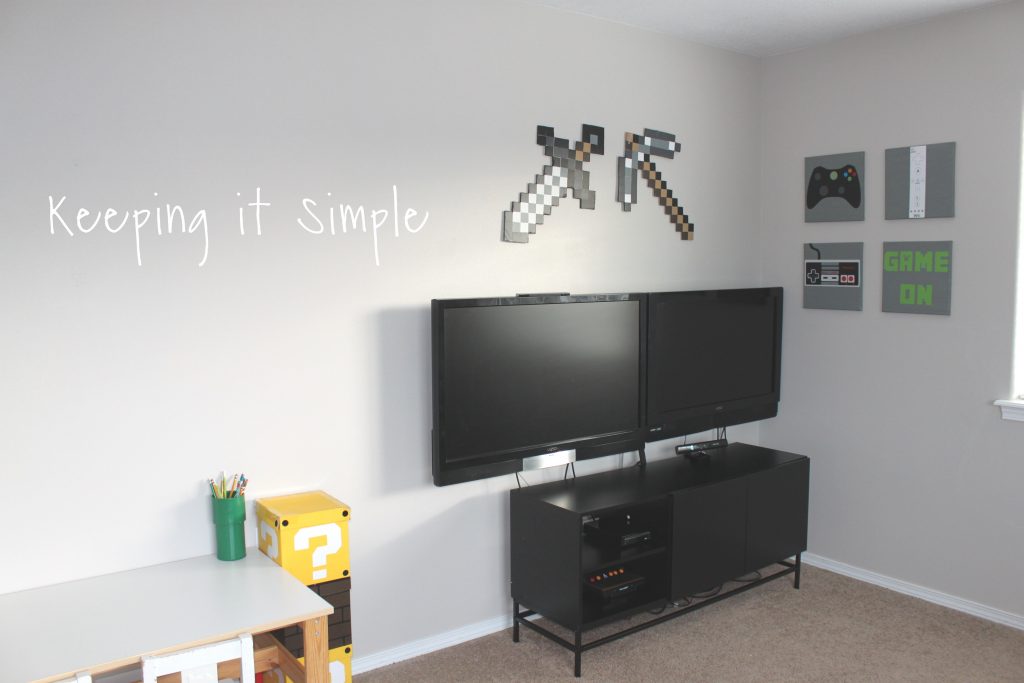
I have a game theme going on in there, because my kids love all kinds of games, video games, computer games and sport games.
My favorite part of the remodel is that I can put all their stuff in the closet and just shut the door and not worry about it and their room still looks pretty clean! Even with the closet door open, it looks better!
I had fun decorating their room with game stuff.
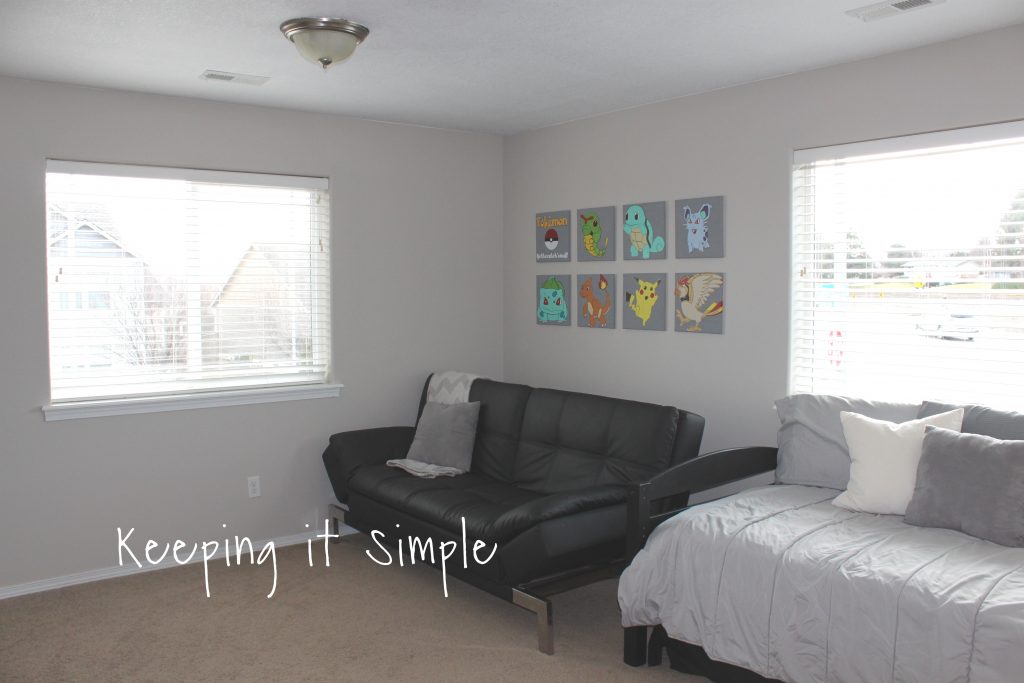
We got a futon in there to act as a couch but also one of my sons' bed. Then we have a bed in there too so my other son can sleep in there too :).
Here the view of the closet from inside the room. I think it looks natural now and it's not an eye sore at all (I was worried about that).
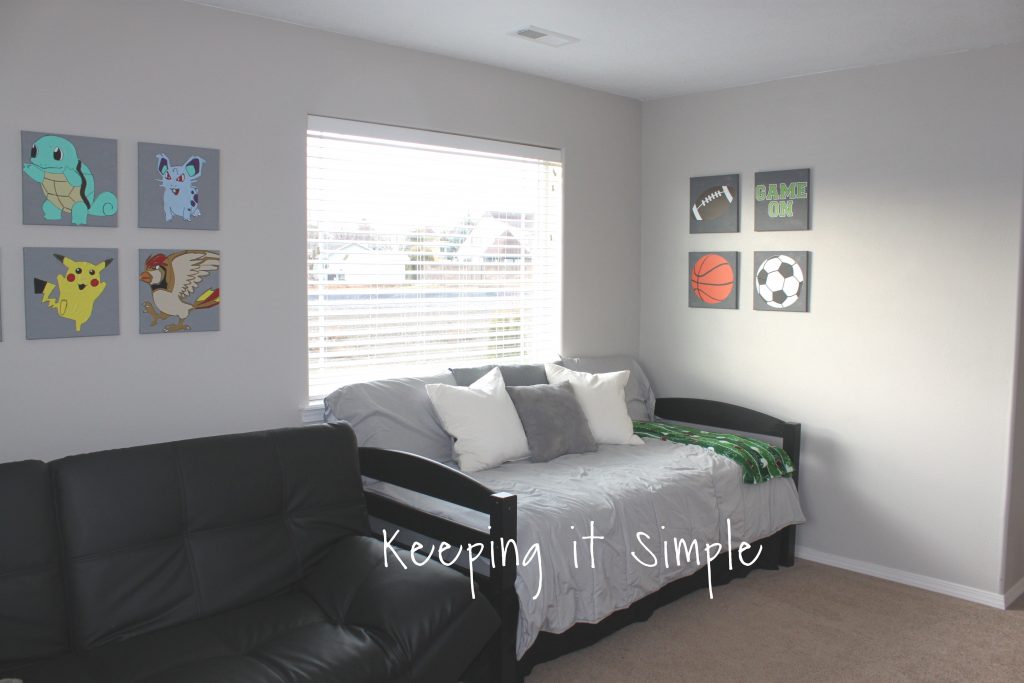
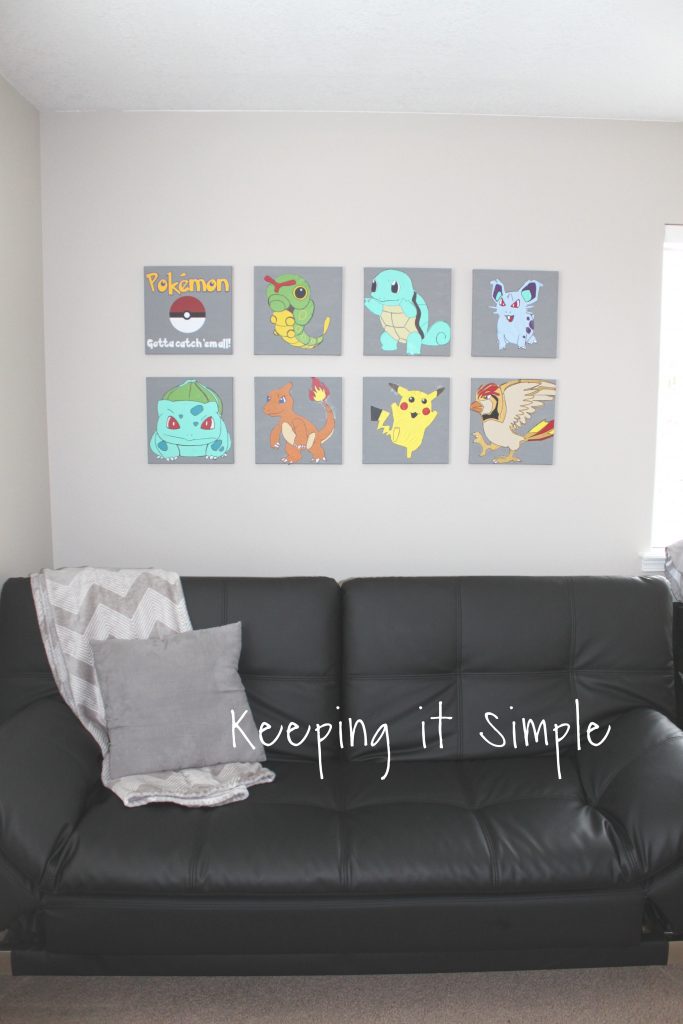
I used the Pokemon decals from the old wardrobes and put them onto canvases. I love them!
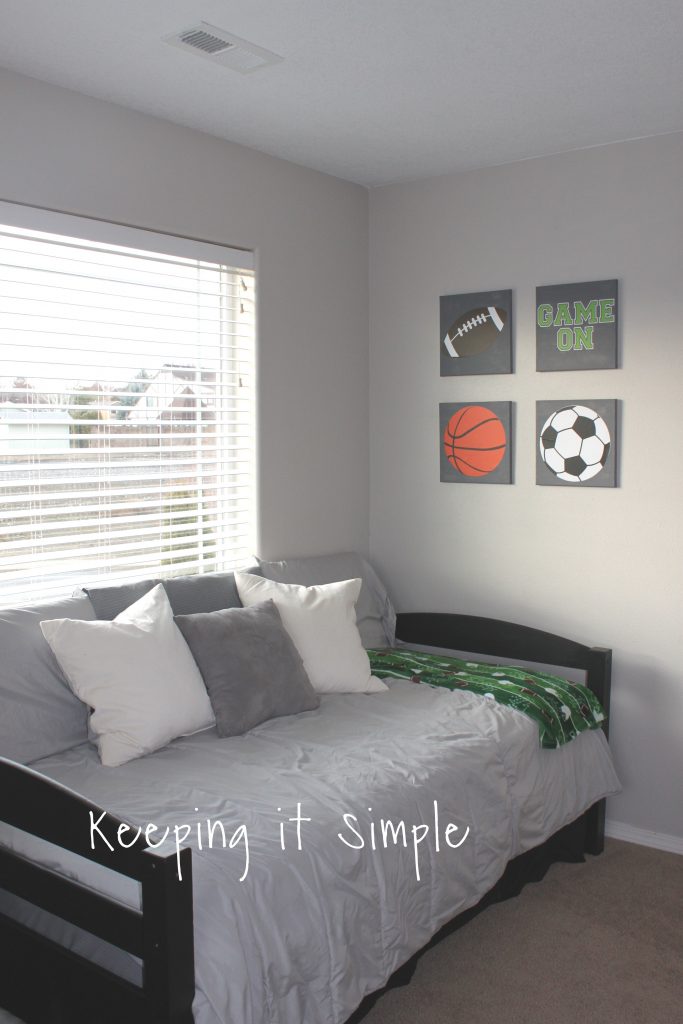
I painted their old bed black and then added some fun sport themed canvases on the wall (my 9 year old is obsessed with sports right now so I needed to add some sport to the room).
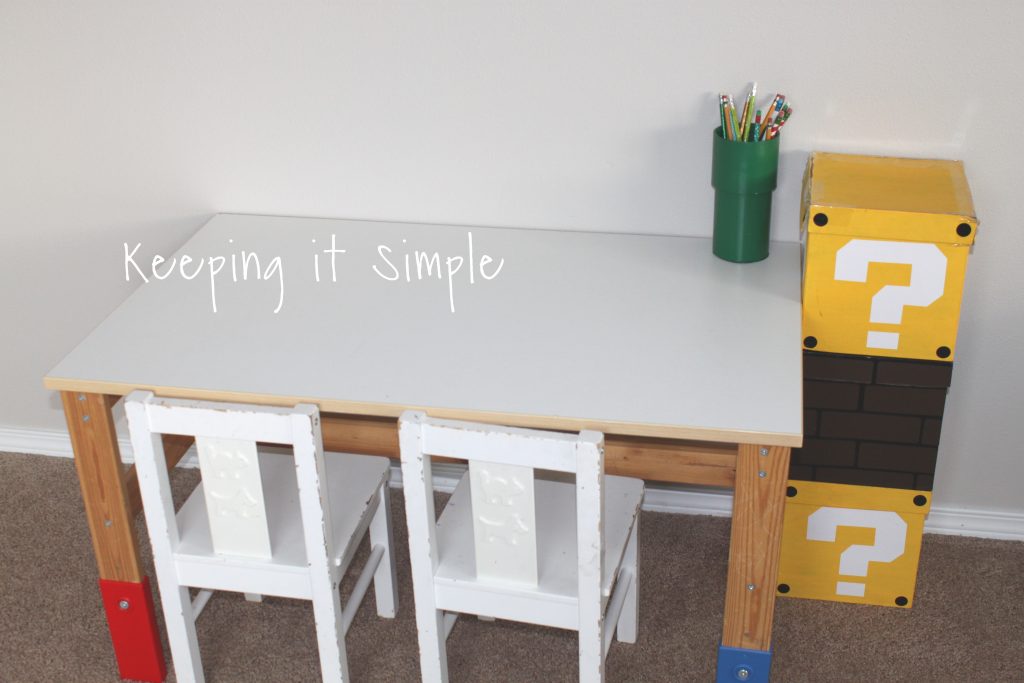
My youngest son is 4 and loves this little kid table from Ikea. So I made some fun Mario themed boxes and pencil holder for the table. He can put all of his crafts and drawing supplies in the boxes.
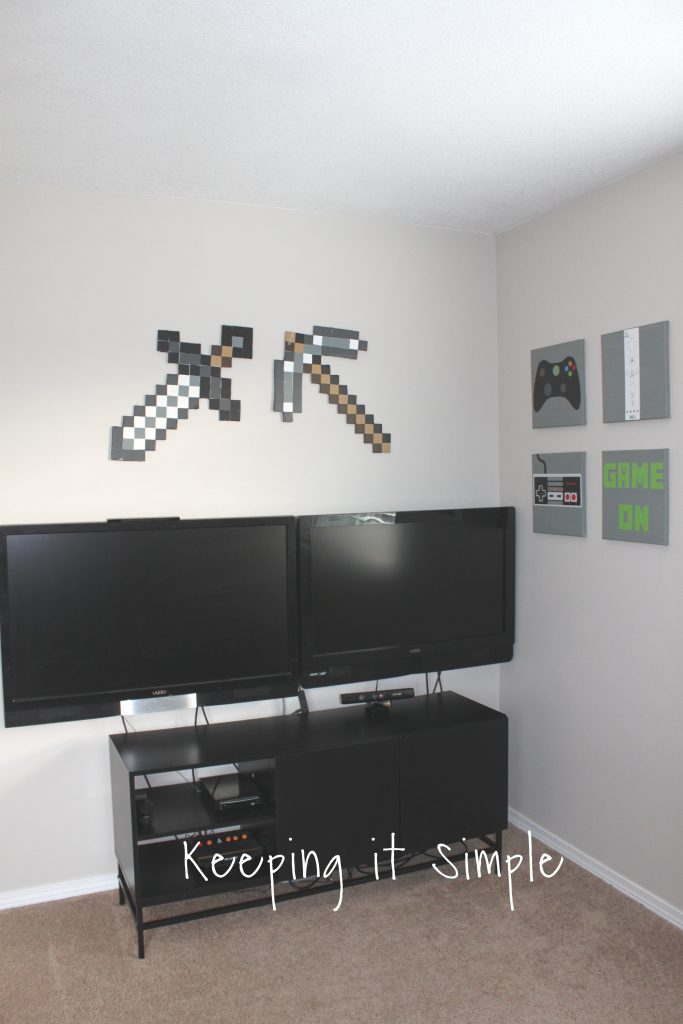
All of the video game stuff was in the front of the room before and I hated that you could see it all over the place, so I decided to put all the gaming stuff in the back of the room and then I got this nice tv stand to hide all the consoles, games and controllers. Then I added some sweet Minecraft foam tools and video game canvases to the walls.
We have been able to really fill up the closet (it is serving it's purpose!!). Here it is all full :).
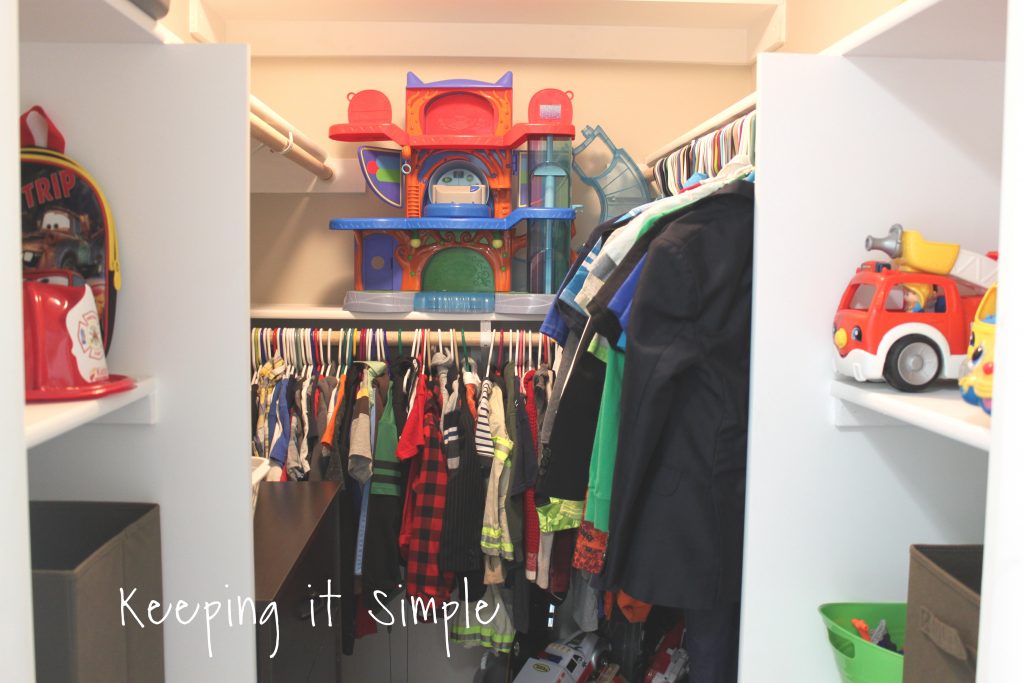
We were even able to get a dresser in there! These 10 gallon totes fit perfectly on the shelves! I was able to even get two stacked on each other on the lower shelves! I keep their costumes in them and then clothes and other random things.
Even though the shelves were put into the design because of the door issue, they are my favorite thing about the closet! It's nice to have shelves to put those random toys that don't really fit into bins. Plus it's nice to have a little section at the beginning of the closet that there isn't clothes so it doesn't feel so tight.

And that's it!! I am so glad that we put a closet in the room, it makes it 100x better in there!
If you liked this post, then check out my other DIY projects!


This post contains affiliate links.
How To Frame A Closet In A Bedroom
Source: https://www.keepingitsimplecrafts.com/tips-on-how-to-build-a-closet-to-make-a-room-a-bedroom/


Tidak ada komentar:
Tulis komentar